Posts

Showing posts from January, 2019

Building a PowerShell cmdlet using C# - Part 4: Packaging the Cmdlet

Image
This is the fourth and last article of the series on how to build a PowerShell cmdlet. On the previous articles we created a simple cmdlet, troubleshooted the code and took a quick tour on the output streams. Although you can import the dll built by Visual Studio directly as a module, this is not the best approach, since you won't be able to publish it, provide help for your cmdlets and many other features provided by PowerShell modules. To create a module we'll start by creating a folder with the same name of the module. This is the folder that is going to hold all the module files. We'll call this module DemoCmdlet, since this is the name of the Visual Studio project and the dll produced. All modules require a module manifest so let's create one with the New-ModuleManifest cmdlet: PS C:\DemoCmdlet> New-ModuleManifest -Path DemoCmdlet.psd1 PS C:\DemoCmdlet> ls     Directory: C:\Users\cpolydorou\OneDrive\tmp\Blog\DemoCmdlet Mode   LastWriteTime Leng

Get the filesystem hierarchy using PowerShell

Image
When working with command prompts - especially on systems without a graphical user interface, getting a view of the filesystem structure under a directory can be an issue. We usually have to get the files in the directory and then recursively process all it's subdirectories. When it comes to PowerShell, I've created a simple function to do exactly that. To demonstrate the usage of the cmdlet, I have created a test application under "C:\Program Files\MyApp". To get a quick look at the directory structure of the application we just have to execute: Display-DirectoryTree -Path 'C:\Program Files\MyApp\'   Each level is indented in order to provide the level feel. To display the type of each object, use the  -IncludeType  parameter. This will prefix each object with a "D" for a directory or an "F" for a file: By default, the tab character is used in the indentation of each level in the hierarchy.  You can select the string using

How To Join a CentOS 7 machine to an Active Directory domain

Image
Joining a linux machine to an Active Directory domain is an uncommon task, but I have run across it a few times. The increasing popularity of linux will sooner or later attract more windows administrators and users and more machines will be joined to Active Directory domains. Back in the day, to join the domain we had to do a lot of configuration file editing, many packages that had to be aligned and a lot of luck was a requirement! Fortunately, this process has been reduced to a handfull of commands! Let's see it in action. The first step is to install the necessary packages. yum install sssd realmd oddjob oddjob-mkhomedir adcli samba-common samba-common-tools krb5-workstation openldap-clients policycoreutils-python -y Give it some time to download and install the packages and their dependencies and you should end up with something similar to the below: Another requirement is that the machine has to be able to resolve the domain DNS records. Check your  /etc/

Updating Exchange Server Certificates

Microsoft Exchange is one of the applications that's installed on almost every company's IT infrastructure and as all applications should, it uses SSL to secure network communications. SSL uses certificates and sooner or later they all expire. Below is the process I usually follow when updating the certificates on multiple servers. We'll start by creating a variable that will hold the thumbprint of the new certificate: $newCertificateThumbprint = "3A5F93553E8346618131DA97CAE6E3962C266608" Then we are going to copy the pfx file to all the servers: $servers = Get-MailboxServer | % Name | Sort-Object $servers | %{ $destination = '\\' + $_ + '\c$\Temp\' Copy-Item -Path "C:\Temp\Cert\Certificate2019.pfx" -Destination $destination -Verbose } Now that the pfx is available on all servers, we are going to import it to the local computer certificate store using the below command: Invoke-Comman

Building a PowerShell cmdlet using C# - Part 3: Using the Output Streams

Image
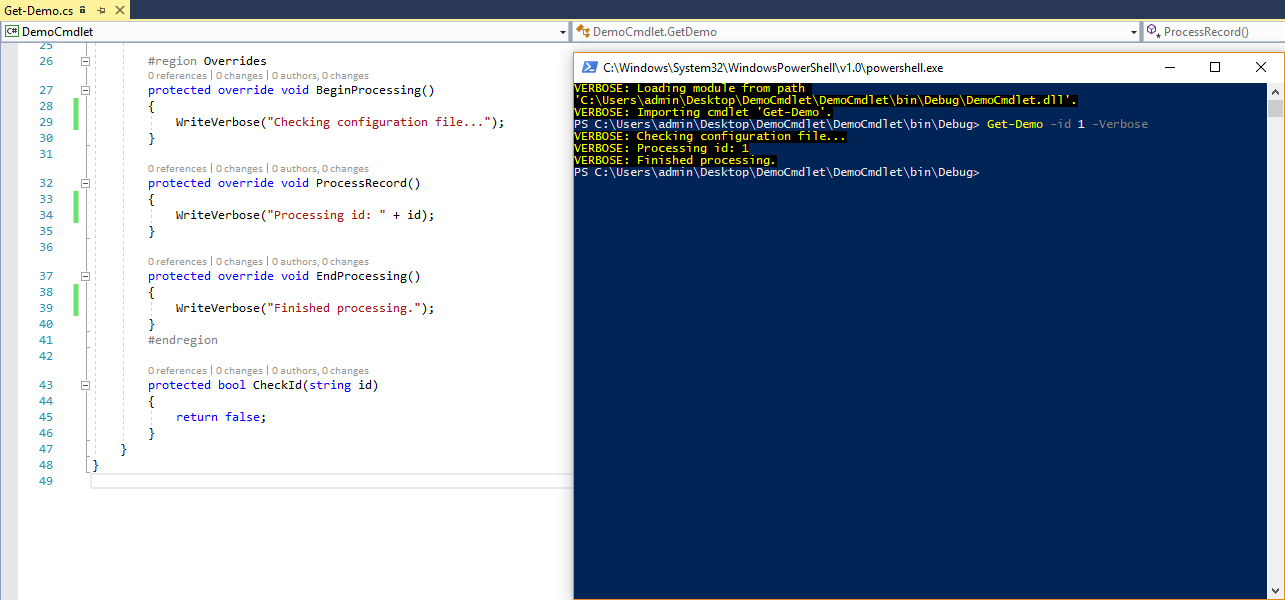
Now that we've seen how to setup the code base for a cmdlet and how to debug it, let's take a look on how it will interact with the world via the various output streams. Verbose Output - WriteVerbose() One of the most useful functions of every cmdlet. Provides detailed information about the execution of the command. Debug Output - WriteDebug() The latest versions of PowerShell give the ability to debug to the end users. The -Debug  parameter along with the WriteDebug  method, pause the execution at specific points so that the end user can debug it. Warning Output - WriteWarning() It goes without saying that if any issues arise during the execution of the cmdlet, those should be reported to the user. For minor issues that do not have an impact on the result of the command, use the WriteWarning method. Errors - WriteError() However, when there are issues that do have an impact on the result, we have to inform the user about them. Things get a littl