Using Azure Data Lake to Archive, Audit and Analyse Log Files
When operating relatively big and complex environments, the ability to have all the operational information available as quick as possible is one of the key factors that protect you from downtime and breached SLAs and allow you to have a full view on the environment to act proactively.
There are many cloud and on premises solutions that can be of assistance but there are some cases that require a more customized approach. Don't get me wrong, Azure OMS and other solutions like it are great for maintaining the control and reporting on your services. However, there are some organizations with needs that cannot be covered by OMS, such as really long retention periods, log file formats that cannot be directly parsed, etc.
So what we need is a place to store the files and a very fast way to query them. This is where Azure Data Lake comes into play. Uploading your log files to Azure Data Lake or directly feeding the Data Lake using Azure Stream Analytics will give you the ability to analyze them in whatever way you need since the raw data will be at your disposal. Let's create an Azure Data Lake Storage Account and upload some log files to see it in action!
For the purposes of this demonstration, I've created a dedicated resource group to create the resources in. I advise you to do the same.
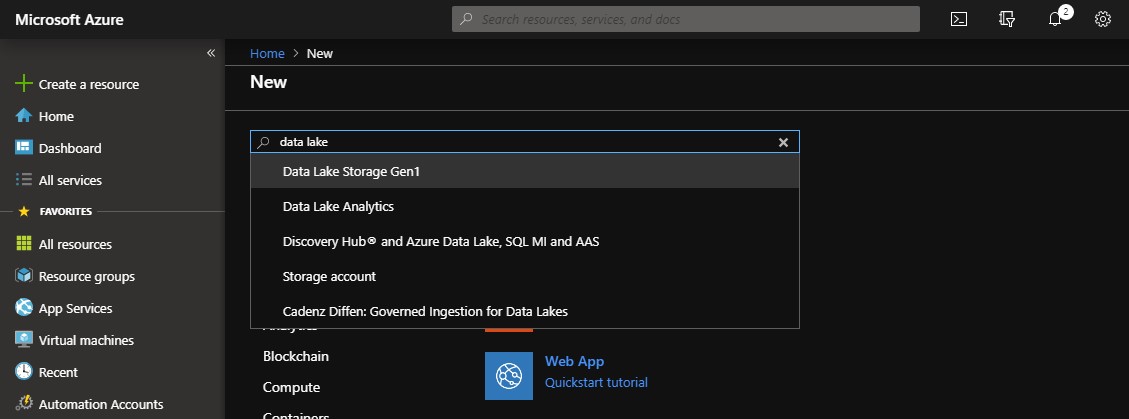
Click on the Create Resource button on the top left of the portal and search for Data Lake resource types:
When the Data Lake Storage Gen1 page is loaded, click on the Create button to create a resource.
Name your Data Lake account, select the subscription, resource group and region and click Create.

When the resource deployment job is completed, switch to the resource group. It should contain a Data Lake resource.

Click on the newly created resource to open the Data Lake blade.

Here is where you manage the Data Lake and get all sort of information about the data in it. The most useful tool however is the Data Explorer.
The Data Explorer is an interface with the storage account that is used to store the data to. From this blade you can create and delete folders, upload files and set permissions. You can also open the Data Lake using Azure Storage Explorer or Visual Studio.
At this time, you should create a strategy on how to store your files in the Data Lake, to make it easier to query them using U-SQL later on. My personal preference when it comes to Exchange servers is to create a directory for each server and inside it directories based on the type of logs.
Let's say for example that we have two exchange servers Exchange2013A and Exchange2013B. The structure of the Data Lake would be something like:

but this is only a suggestion, you are free to structure it as you like.
To upload files to the data lake you can use the Data Explorer but it is limited to uploading a small number of files at a time. You can manage the files and folders by using the Azure Storage Explorer which will make things a little bit easier. Of course you can also develop your own scripts and applications to manage the content on the data lake.
Now that we've configured the Data Lake storage and uploaded some files, it's time to start running queries on the data!
What we'll need is a Data Lake Analytics resource. Click the Create Resource button and search for Data Lake Analytics and then click Create.

Fill a name for the resource, select the subscription, resource group and location for the resource and pick the Data Lake Account we've previously created.

When the deployment is completed, a new resource should be available in the resource group:

Click on the newly created resource to open the Data Lake Analytics blade:

Our first job would be to create a database and a function to read the IIS log files. Click on the New Job button and fill in the following code:
CREATE DATABASE IF NOT EXISTS Logs;

DROP FUNCTION IF EXISTS Logs.dbo.GetLogFiles;

CREATE FUNCTION Logs.dbo.GetLogFiles ()
RETURNS @result TABLE
(
    s_date string,
    s_time string,
    s_sitename string,
    cs_method string,
    cs_uristem string,
    cs_uriquery string,
    s_port int,
    cs_username string,
    c_ip string,
    cs_useragent string,
    cs_referer string,
    sc_status int,
    sc_substatus int,
    sc_win32status int,
    s_timetaken int
)
AS
BEGIN
    @result = EXTRACT
        s_date string,
        s_time string,
        s_sitename string,
        cs_method string,
        cs_uristem string,
        cs_uriquery string,
        s_port int,
        cs_username string,
        c_ip string,
        cs_useragent string,
        cs_referer string,
        sc_status int,
        sc_substatus int,
        sc_win32status int,
        s_timetaken int
    FROM @"/Logs/{*}/IIS/{*}.log"
    USING Extractors.Text(delimiter:' ', skipFirstNRows:4, silent:true);
    RETURN;
END;
Submit the job to create the database and the function. The function is configured to read from all the files in each IIS directory that have the extension .log. Moreover, I've chosen to ignore the first four rows since those contain comments about the file and will cause issues with the default extractor.
To make our lives easier, we are also going to create a table to insert the data we've red to using the following code:
DROP TABLE IF EXISTS Logs.dbo.WebLogs;

CREATE TABLE Logs.dbo.WebLogs (
            Date        string,
            Time        string,
            Uri         string,
            INDEX idx CLUSTERED (Date ASC)
              DISTRIBUTED BY HASH(Date)
);
I've added only a couple of fields just to keep things simple. You can add as many fields as you like but make sure you have the corresponding fields in the result of the above function and the correct data type. Moreover, you'll need an index for the table in order to add data to it.
When this job is also completed, you should have something like the following on your data explorer:

To read data from the files to the table, we have to submit another job:
@weblog = Logs.dbo.GetLogFiles ();

INSERT INTO Logs.dbo.WebLogs
SELECT s_date AS Date,
       s_time AS Time,
       cs_uristem AS Uri
FROM @weblog;
The first command will read the data from the files in the weblog variable using the function we've created earlier and the second one will insert the data in the database table.
Great! Now what do we do with the data in the table? You can read it using a variety of tools but in case you just want to get the data, you can export it to a file in the data lake:
@log =
    SELECT *
    FROM Logs.dbo.WebLogs;

OUTPUT @log
TO @"/Output/log.csv"
USING Outputters.Csv();
If you preview the file using Data Explorer you should see something like the following:

The records are not sorted since all the operations are executed in parallel but you can fix this in your queries.
Keep in mind that is a just an example on how to read data from files and transfer it to data lake database tables for further processing. You have the ability to create custom extractors to handle your files if they have complicated structure and you can also transform the data when inserting it to the table.
Hopefully I'll manage to write an article on extending U-SQL with C# code soon. Until then, start playing with the Data Lake offerings to get familiar with the interfaces and U-SQL!

