Running Azure CLI in WSL Ubuntu
Microsoft's Windows Subsystem for Linux is starting to gain a lot of my respect lately, not only because I can run my docker container engine on it, but due to the fact that the most popular Linux distributions are also available as images to be imported.
As you can imagine, having a Linux environment as an app within Windows can be very helpful. Especially when the drives of the system are also available from within the distribution!
One of the most common problems I run into and I've managed to solve using WSL is running bash scripts for Azure CLI. In the majority of the cases, I use VS Code and the remote container extension to deploy resources using Azure CLI, but there are times I want to test different versions of it, including beta releases. The solution? Separate instances of Ubuntu on WSL! Below are the steps to import Ubuntu and then install Azure CLI.
First, we need to add a new Ubuntu instance to WSL. The Ubuntu cloud images are published on the Ubuntu website and are available to download for free. For the purposes of this post, we're going to use Ubuntu 20.04 LTSR and the WSL image in particular (the one ending with wsl.rootfs.tar.gz).
To create the Ubuntu instance, issue the wsl --import command with the name to use, the path to save the instance files to, and the path to the image:

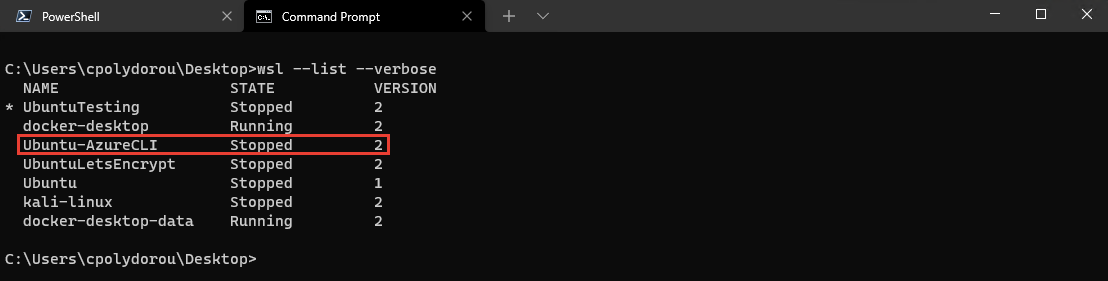
Listing the distributions we now see the Ubuntu-AzureCLI:
Connect to the distribution using the wsl --distribution command followed by the name of the instance:
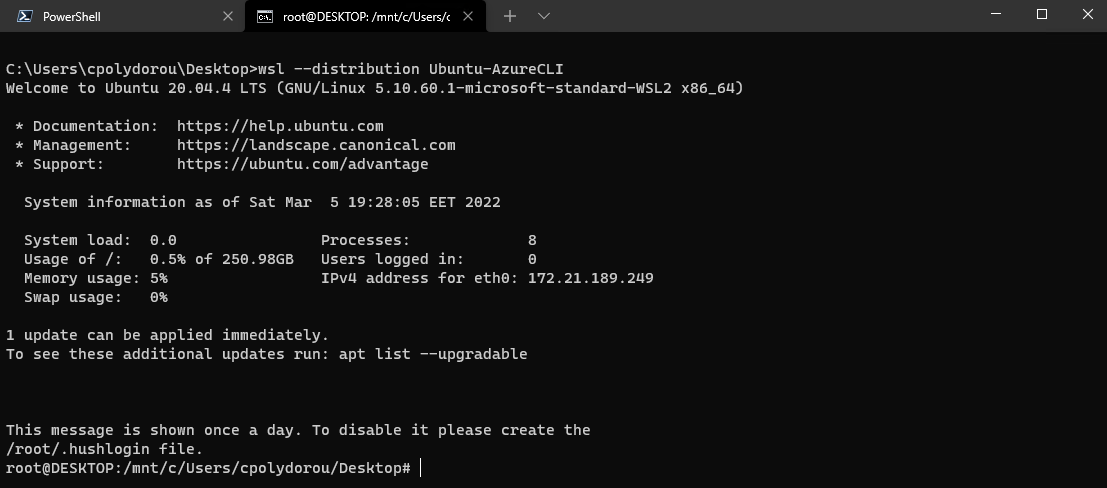
A good idea at this point is to perform an update on the system using the apt-get update and apt-get upgrade commands to be fully prepared to install Azure CLI.
Microsoft has published a script that prepares the system for Azure CLI that is available here: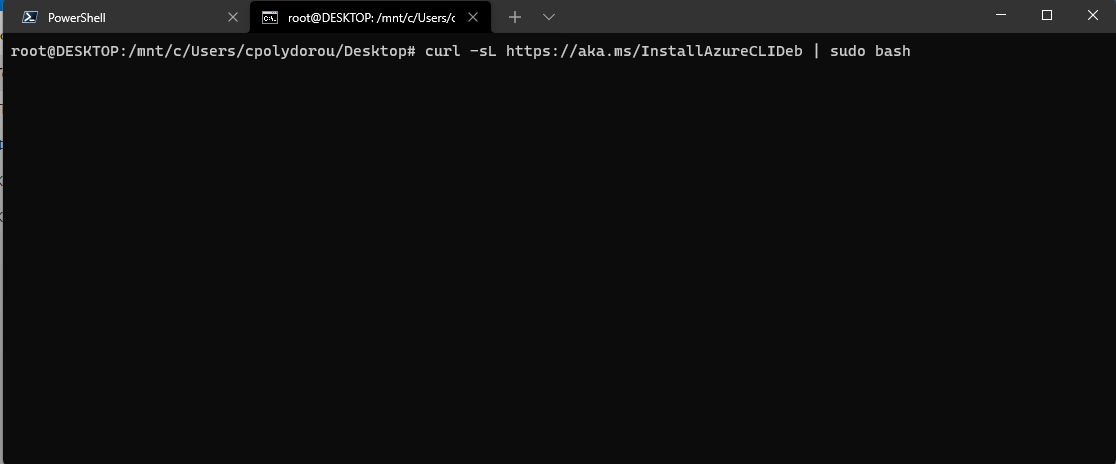

You are now ready to connect to your Azure tenant and manage your resources!

