Install and Configure the OMS Windows Agent
On the last article of the Azure OMS series, we configured OMS to collect the log entries from the Application and System logs and the values for a few Performance Counters. It's time to setup the first agent to send data to the workspace!
All we need is the setup file that is available on the Azure portal, at the Advanced Settings blade of the OMS workspace.
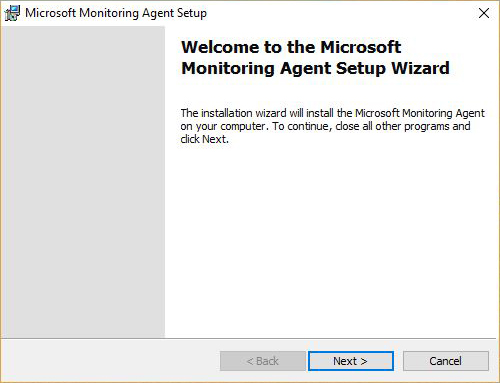
The first step of the agent installation would be to right click the file and then run it as administrator. After the UAC confirmation, the welcome screen should appear.
Click Next to get to the Software License Terms and agree after reading them.

The next screen will be installation folder selection. In most cases, the default location is going to be fine.

Next, we have to configure the agent to connect to OMS by selecting the second checkbox. If you would like to also connect to SCOM, tick the third checkbox.

On the next step, we have to specify the OMS workspace to connect to by using the Workspace ID that is available on the Advanced Settings blade of the workspace on the Azure portal. We also need the workspace key in order to authenticate. If you are using a proxy server to connect to the internet, you have to specify it on the Advanced menu.


The above screen concludes the installation configuration and we're ready to install.

When the installation process is completed, hit Finish to close the wizard.

These are the steps to install and configure the OMS agent on a windows computer and as you can see it's pretty straight forward!
To access the settings of the agent, use the "Microsoft Monitoring Agent" option in Control Panel.

On the next article of the series, we are going to take a quick tour on the Advanced Analytics workspace, query for the agent status, events and performance data.
Related articles
Introduction to Azure Advanced Analytics
Configuring Log and Performance Counter collection on the OMS Workspace
Install and Configure the OMS Windows Agent
Verify the Agent Connectivity to OMS Workspace
Deploying the OMS Windows Agent using DSC
Querying OMS for Performance Data
Querying OMS for Events
Collecting IIS Log Files
Install and Configure the OMS Linux Agent
Syslog Message Collection for OMS from sources that do not support the agent
Generating Alerts on OMS
Update Management using OMS
Monitoring Active Directory Health using OMS
Assessing Security using OMS
Monitoring Microsoft SQL using OMS
Monitoring Azure Activity Log using OMS
All we need is the setup file that is available on the Azure portal, at the Advanced Settings blade of the OMS workspace.
The first step of the agent installation would be to right click the file and then run it as administrator. After the UAC confirmation, the welcome screen should appear.
The next screen will be installation folder selection. In most cases, the default location is going to be fine.
Next, we have to configure the agent to connect to OMS by selecting the second checkbox. If you would like to also connect to SCOM, tick the third checkbox.
On the next step, we have to specify the OMS workspace to connect to by using the Workspace ID that is available on the Advanced Settings blade of the workspace on the Azure portal. We also need the workspace key in order to authenticate. If you are using a proxy server to connect to the internet, you have to specify it on the Advanced menu.
Following the workspace configuration we have to select the way that updates to the agent will be delivered. I'd recommend using the recommended approach.
The above screen concludes the installation configuration and we're ready to install.
When the installation process is completed, hit Finish to close the wizard.
These are the steps to install and configure the OMS agent on a windows computer and as you can see it's pretty straight forward!
To access the settings of the agent, use the "Microsoft Monitoring Agent" option in Control Panel.
On the next article of the series, we are going to take a quick tour on the Advanced Analytics workspace, query for the agent status, events and performance data.
Related articles
Introduction to Azure Advanced Analytics
Configuring Log and Performance Counter collection on the OMS Workspace
Install and Configure the OMS Windows Agent
Verify the Agent Connectivity to OMS Workspace
Deploying the OMS Windows Agent using DSC
Querying OMS for Performance Data
Querying OMS for Events
Collecting IIS Log Files
Install and Configure the OMS Linux Agent
Syslog Message Collection for OMS from sources that do not support the agent
Generating Alerts on OMS
Update Management using OMS
Monitoring Active Directory Health using OMS
Assessing Security using OMS
Monitoring Microsoft SQL using OMS
Monitoring Azure Activity Log using OMS


